Replacing the battery in your iPhone 13 yourself is realistic for a patient DIYer with the right tools, and it usually takes 30 to 60 minutes. The short version: confirm your battery health has dropped below 80%, power the phone off, open the glued display, disconnect the battery connector first, peel out the old adhesive strips, seat the new battery, and reseal. The cautions matter just as much, because the iPhone 13 is sealed for water resistance, its cables tear easily, and a lithium-ion battery can catch fire if it is bent or punctured. This guide covers the full DIY method and the safety that matters, then gives an honest read on when to let a shop handle it. Professional battery replacement starts from $40, depending on model.
First, confirm the battery is the problem
Before you open anything, make sure the battery is genuinely the issue. On your iPhone 13, go to Settings, then Battery, then Battery Health and Charging, and look at Maximum Capacity. Apple considers a battery worn once that number drops below 80%, which is the point where a replacement is worth it. Fast draining, random shutdowns (especially in the cold), sluggish performance, and a phone that runs warm are all classic signs of a tired cell.
If your capacity is still in the high 80s or 90s, the battery may not be the real problem, and your habits or settings could be. Our guide on how to keep your iPhone battery healthy for longer covers the charging and heat habits that slow this decline, worth a look before you spend on parts.
Is it safe to replace an iPhone 13 battery yourself?
Yes, with realistic expectations. Plenty of people swap iPhone 13 batteries at home, and it is one of the more approachable internal repairs. But the risks are real. The display, Face ID, and battery cables are thin and tear easily, so one slip can disable the screen or Face ID for good. A lithium-ion cell can catch fire if it is punctured or bent, which is the single biggest reason to go slow. Opening the phone also breaks its water-resistant seal, and any non-genuine battery makes iOS hide your battery health percentage. None of this means you cannot do it; it means preparation and patience keep a routine swap from becoming an expensive mistake.
Tools you will need
Gather everything before you start so you are not hunting for a tool mid-repair with the phone open:
- A P2 pentalobe screwdriver for the two bottom screws
- A Y000 tripoint and a Phillips #000 screwdriver for the internal brackets
- A suction cup and a couple of thin opening picks
- A plastic spudger and non-metal tweezers
- A replacement battery made for the iPhone 13, ideally with adhesive strips included
- Fresh display adhesive and a little isopropyl alcohol (90% or higher) for cleanup
A repair kit sold for the iPhone 13 usually bundles most of these. Do not use a random screwdriver; stripping the tiny screws ends the repair fast.
Before you start: safety first
A few minutes of preparation prevents the worst outcomes:
- Discharge the battery below 25%. A charged battery holds more energy and is more dangerous if it is punctured, so running it down first is a simple safety margin.
- Power the phone off completely before you touch a screw.
- Never bend, fold, or puncture the battery, and never pry it with a metal tool. If it starts to bend, stop.
- Do not attempt the repair if the battery is already swollen. A puffy cell that lifts the screen or bulges the back is a fire risk and belongs in a professional's hands.
- Keep the screws organized on a clean, well-lit surface in labeled containers, since they are different lengths and must go back in the right holes. Touch something grounded first to discharge static.
Step-by-step: how to replace the iPhone 13 battery
Work slowly, and stop any time something resists more than it should.
- Remove the pentalobe screws. With the phone off, remove the two P2 pentalobe screws on either side of the charging port. Keep them separate, as they are the only two of their kind in the phone.
- Soften the adhesive and open the display. Gentle heat around the edges (a heat pad or low hairdryer for a minute) softens the display adhesive. Apply the suction cup just above the bottom edge, pull up to open a small gap, and slide a pick around the perimeter to release the glue. Open the phone from the right side like a book, since the display cables run along the left hinge.
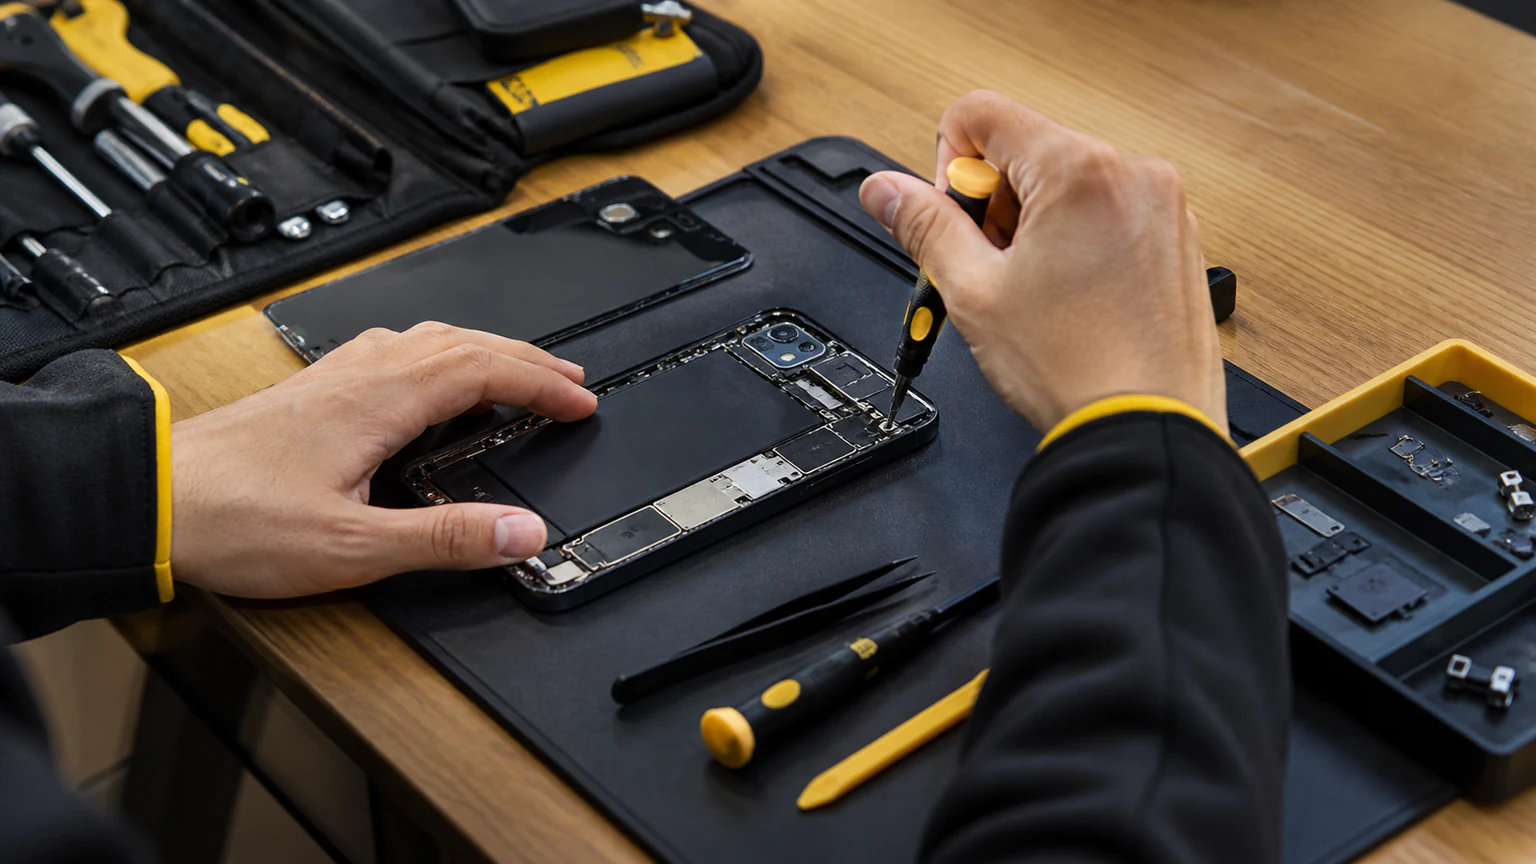
- Disconnect the battery first. Remove the metal bracket over the connectors, then disconnect the battery connector before anything else to kill power and prevent a short. Then disconnect the display and Face ID connectors and set the screen aside.
- Remove the old battery. The battery sits on stretch-release adhesive strips at the bottom. Grip the white pull tabs with tweezers and pull each strip slowly, straight out and parallel to the phone, so it stretches free without snapping. If a strip breaks under the cell, apply gentle heat and ease the battery up with a plastic card. Never pry it out with metal.
- Install the new battery. Lay fresh adhesive strips where the old ones sat, lower the new iPhone 13 battery squarely into place, and press it firmly for a minute to bond it. Do not power on yet.
- Reconnect and reassemble. Reconnect the display and Face ID connectors first, the battery connector last, and replace the bracket. Fold the screen down, press the edges to seat the adhesive, and drive the two pentalobe screws home.
- First charge and test. Power on, charge to 100%, then run it down and back up once or twice so the battery gauge re-learns true capacity. Confirm the screen, touch, Face ID, cameras, and charging all work normally.
Why your iPhone may say "Battery Health not available"
Here is the part that surprises most DIYers. The iPhone 13 pairs its battery to the phone in software. Install any battery that is not a genuine Apple cell with its original chip, and iOS shows an "Unknown Part" or battery service notice, and Battery Health stops reporting a capacity percentage.
The phone still works and charges, so this is a notice, not a lockout, but you lose the readout that told you the battery was worn. It happens no matter who installs a third-party battery, because it is tied to Apple's parts system, not your soldering skills. If keeping that percentage matters to you, ask a repair shop about genuine battery options before you buy a part.
Do not forget water resistance
Opening the iPhone 13 breaks the factory seal that keeps out splashes and rain. To restore any meaningful water resistance, the old adhesive has to be cleaned off and a fresh display gasket applied, then the screen pressed and clamped to cure. Most DIY jobs skip this or do it imperfectly, so treat your phone as no longer waterproof after any at-home swap.
When to let a shop replace your iPhone 13 battery
DIY makes sense on an old phone you are willing to gamble on, or if you enjoy the process. For a phone you rely on daily, professional replacement is the safer bet for most people, and more affordable than many expect. Lean toward a shop when:
- The battery is swollen. This is a safety issue, not a DIY project.
- You want to keep your battery health readout or use genuine parts.
- You are not confident around the fragile cables, or you want the water-resistant seal restored properly.
- Other issues need attention too, such as Face ID, the cameras, or the screen.
At URPhone Store, professional iPhone battery replacement starts from $40, depending on model, and most swaps are finished the same day when parts are in stock. Every qualifying repair is backed by our 1-year warranty on parts and labor (does not cover new accidental or liquid damage after the repair), and the diagnostic is free, so you get an honest answer before you pay. For anything beyond the battery, our full iPhone repair in Orlando team can check the whole device. And if your iPhone 13 is aging and stacking up faults, weigh the fix against a new phone with our guide on whether it is cheaper to fix a phone or replace it.
Getting your iPhone 13 battery replaced in Orlando
If you would rather skip the risk, URPhone Store runs three repair locations across Orlando and swaps iPhone batteries daily. Bring your phone in for a free battery diagnostic, and we will confirm whether a replacement is worth it, quote a price from $40 depending on model, and in most cases finish it the same day when parts are in stock.
We are open Mon-Sat 9 AM-9 PM and Sun 10 AM-9 PM at all three stores, and we service Apple, Samsung, Google Pixel, OnePlus, LG, Motorola, and more, with financing available through Acima. Call (321) 300-2023 with any questions, or book a visit online and we will get you sorted.