Lines on an iPhone screen come from one of two things: a temporary software glitch or a hardware fault in the display, its ribbon connector, or (less often) the logic board. The fastest way to fix them is to rule out software first - restart, update iOS, then reset settings - and if the lines survive that, treat it as a display-hardware problem that needs repair. This guide walks you through the full triage, from the two-minute software checks to knowing when it is time for a screen replacement.
Whether the lines are vertical, horizontal, or diagonal, and whether they are black, white, or colored, the troubleshooting order is the same. Work through the steps below in sequence so you do not pay for a repair you did not need, and do not skip the software checks even if you are sure the screen is broken.
What lines on an iPhone screen usually mean
The pattern and behavior of the lines is the biggest clue to what is causing them:
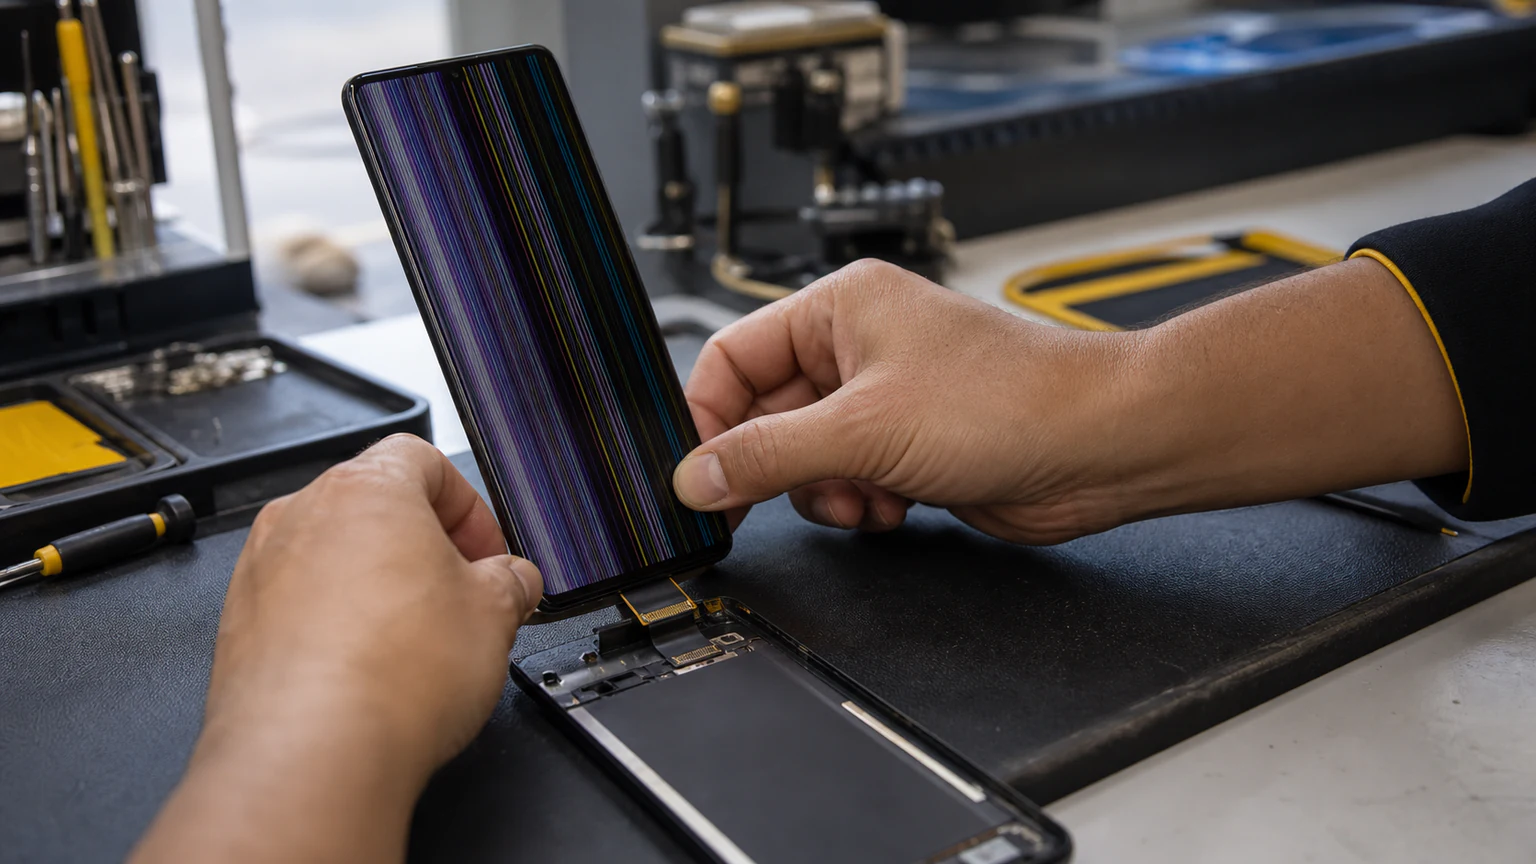
- Thin colored vertical or horizontal lines (green, pink, blue, or white) usually point to a display panel or connector fault. These are common after a drop or after the phone has been under pressure.
- Flickering lines that come and go can be either a software rendering bug or a loose display connector, so they are worth a full software pass before you assume the worst.
- A single static line that never changes is typically a dead row or column of pixels, which is a hardware problem.
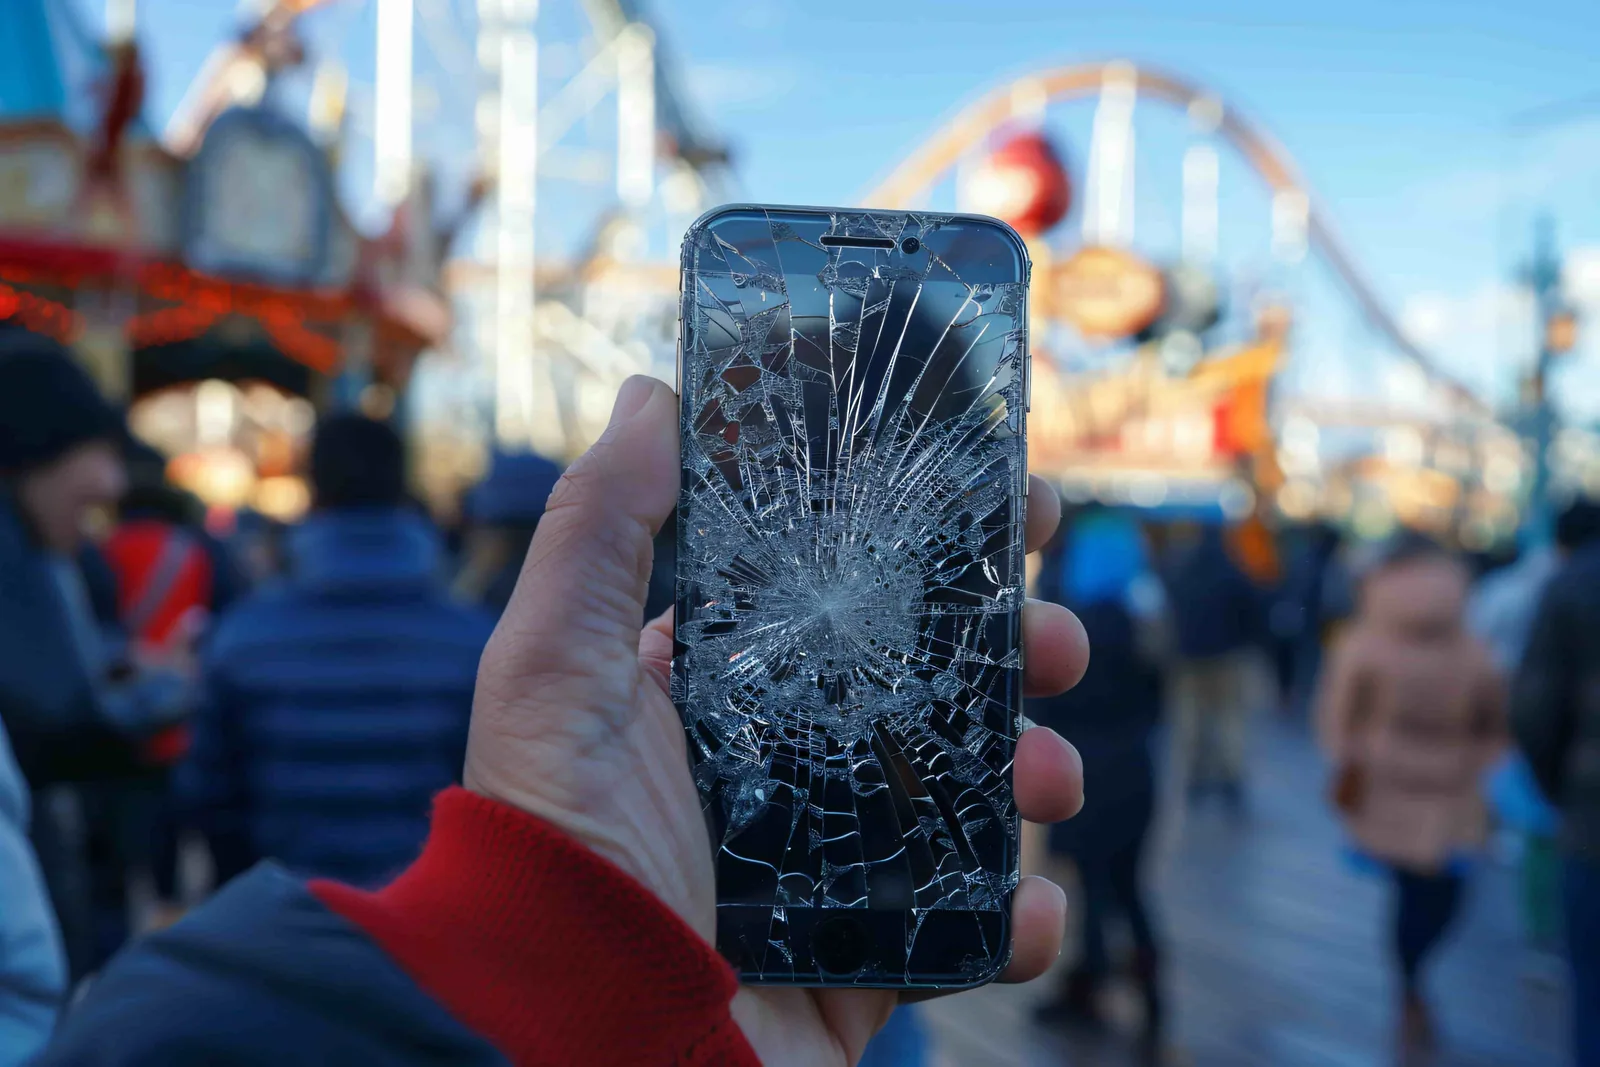
- Distortion with color blotches, a "shattered" look, or an unresponsive area points to physical or liquid damage to the display.
- Lines that appear only in one app or right after an iOS update lean strongly toward software.
Knowing which description fits your screen tells you where to start and, often, whether a repair is coming.
Software vs hardware: how to tell the difference
Before you spend money, spend two minutes narrowing down the cause. Run through these questions:
- Did the lines start right after an iOS update or inside one specific app? That points to software - start with Step 1.
- Did they start right after a drop, sitting on the phone, or water exposure? That points to hardware - the software steps rarely help, but they are still worth trying once.
- Do the lines show on the Lock Screen, in every app, and even in Recovery Mode? Lines that appear everywhere and never change are almost always hardware.
- Do they flicker, change, or vanish after a restart? That behavior is consistent with software.
There is one quick test that settles most cases: take a screenshot and look at it. If the lines appear on the screen but are not in the captured screenshot, the image data is fine and the display hardware is rendering it wrong - that is a hardware problem. If the lines show up in the screenshot too, the fault is more likely in software. Either way, if the software pass does not clear the lines, you are looking at a display repair.
Step 1: Check for software issues
Software glitches are the easiest and cheapest fixes, so rule them out first. Back up your iPhone to iCloud or a computer before you start, just in case.
Restart your iPhone
- On Face ID models, hold the side button and either volume button until "slide to power off" appears. On Touch ID models, hold the side (or top) button.
- Slide to power off, wait about 30 seconds, then hold the side button to turn it back on.
A restart clears temporary memory and can wipe out a rendering glitch that is drawing lines.
Update iOS
- Go to Settings > General > Software Update.
- Install any pending update over Wi-Fi while the phone is charging.
Apple regularly patches display and graphics bugs, and one of those patches may be exactly what your screen needs.
Reset all settings
- Go to Settings > General > Transfer or Reset iPhone > Reset > Reset All Settings.
- This does not delete your photos, apps, or messages, but it does reset system settings such as Wi-Fi passwords and display preferences.
DFU restore (advanced)
If the lines persist and you suspect deeper corruption, for example after a failed update, back up your data and perform a DFU (Device Firmware Update) restore using a computer. This reloads iOS at the firmware level. If a clean DFU restore still shows the lines, you have effectively confirmed the problem is hardware.
Step 2: Test for hardware problems
If the lines survive every software step, the cause is almost certainly physical. These are the usual culprits:
Physical damage
A drop, or pressure from sitting or leaning on the phone, can crack the display or dislodge the thin ribbon (flex) cable that connects the screen to the logic board. There does not have to be a visible crack - even a hard bump can loosen the connector, and lines or flicker are classic symptoms.
Display or panel failure
The OLED panels used since the iPhone X can develop lines, bands, or color shifts when the panel or its driver starts to fail, sometimes with no drop at all as a phone ages.
Water or moisture
Liquid can corrode the display connector or driver. If the lines appeared after water exposure, treat it as hardware and act quickly, because corrosion spreads. Our guide on what to do when you drop your phone in water covers the immediate steps. Note that liquid damage is the one case that is not a free diagnosis, which is covered below.
Heat or sustained pressure
Extreme heat or storing the phone under constant pressure can cause temporary distortion that may or may not clear on its own.
Step 3: Try to fix the problem yourself
If you are comfortable with safe, non-invasive fixes, try these before booking a repair. None of them involve opening the phone.
Clean the screen and check the protector
Wipe the screen with a microfiber cloth. Then look closely at your screen protector: a lifted, bubbled, or cracked protector, or trapped dust and moisture underneath it, can create marks that look exactly like display lines. Peel it off and check whether the lines disappear.
Force restart (hard reset)
A force restart is stronger than a normal restart and can clear a frozen display process:
- iPhone 8 and newer: press and release Volume Up, press and release Volume Down, then press and hold the side button until the Apple logo appears.
- iPhone 7 and 7 Plus: hold Volume Down and the side button together.
- iPhone 6s and earlier: hold the Home and side (or top) buttons together.
What not to do
Do not press hard on the screen to force the lines out, and do not try to open the phone or reseat the display yourself unless you are experienced. Modern iPhones use fragile display cables and adhesive seals, so a DIY attempt can tear the flex cable, crack the panel, or void water resistance, turning a simple repair into an expensive one.
Step 4: Professional iPhone screen repair
If the lines outlast the full software pass and the safe DIY checks, the display hardware needs to be repaired or replaced, and on modern iPhones that is not a DIY job. A technician can test whether the fault is the panel, the connector, or (rarely) the logic board, and replace only what has actually failed.
At URPhone Store, our iPhone repair team in Orlando diagnoses lines and display faults for free, and most iPhone screen replacements are finished the same day when parts are in stock. Screen repair starts from $50, depending on your model and the extent of the damage, and every repair is backed by a 1-year warranty on parts and labor (does not cover new accidental or liquid damage after the repair).
If the lines followed water exposure, the job is handled as a water-damage repair: a $60 diagnostic that is credited toward the repair if you go ahead, since a free quote does not apply to liquid damage. And if you are weighing a repair against upgrading an older iPhone, our guide on whether it is cheaper to fix a phone or replace it breaks down the math.
Ready to get your display back to normal? Call (321) 300-2023 or book a repair online, and we will diagnose the lines and tell you exactly what it takes to fix them.